

Dropbox, as a cloud storage application, can help you keep your files synchronized across multiple devices. You can install Dropbox on an Ubuntu VPS to easily transfer your files to the cloud; installing it provides you with a directory that is synced to your storage, and every file you put in this directory is automatically uploaded to your cloud storage.
To install or uninstall Dropbox on Ubuntu, there are multiple ways, including using the Ubuntu graphical interface (GUI) and the terminal. In this guide, we’ll cover both installation and uninstallation methods; whether you are using an Ubuntu VPS through the command line or the desktop version of Ubuntu, you can follow this guide.
Dropbox doesn’t require significant system resources, so it can run on an Ubuntu system with limited CPU, RAM, and storage. Below, you can find the recommended system requirements for running Dropbox on Ubuntu.
- Operating system Ubuntu 18.04 or newer
- architecture 64-bit x86 (Intel/AMD)
- RAM 1GB or higher
- Storage 2GB free space
How to Install Dropbox on Ubuntu
To install Dropbox on Ubuntu, log in to your Ubuntu VPS with root or sudo privileges using either the graphical interface or SSH, then follow the steps for your preferred method.
Install Dropbox Using the Terminal
After logging in, update your Ubuntu repository list to ensure you download the latest version. Run the command below to update the apt repository:
sudo apt updateDownload Dropbox .deb Package
Download the official Dropbox deb package using the command provided in the appropriate tab below. The package may vary depending on your Ubuntu version, so select your version, copy the corresponding command, and run it in the terminal to download the package.
wget "https://www.dropbox.com/download?dl=packages/ubuntu/dropbox_2020.03.04_amd64.deb" -O dropbox.debwget "https://www.dropbox.com/download?dl=packages/ubuntu/dropbox_2026.09.28_amd64.deb" -O dropbox.debInstall Dropbox .deb package
After downloading the desired Dropbox package, run the command below to install the .deb package file.
sudo apt install ./dropbox.debYou may be prompted to download additional packages required by Dropbox. Type y and press Enter to continue.
Start Dropbox service on Ubuntu
Once the installation is complete, start Dropbox and connect it to your account. Run the command below to start Dropbox; it will provide a link that you can open in your browser to link your Ubuntu system to your Dropbox account.
dropbox start -i# Example output:
To link this computer to a Dropbox account, visit the following URL:
https://www.dropbox.com/cli_link_nonce?nonce=YOUR_UNIQUE_NONCEOpen the generated URL in your browser and sign in to your Dropbox account to authorize the Ubuntu system.
Note:
The URL is unique to your session, so use the link displayed on your own terminal rather than the example above.
Install Dropbox Using the GUI on Ubuntu
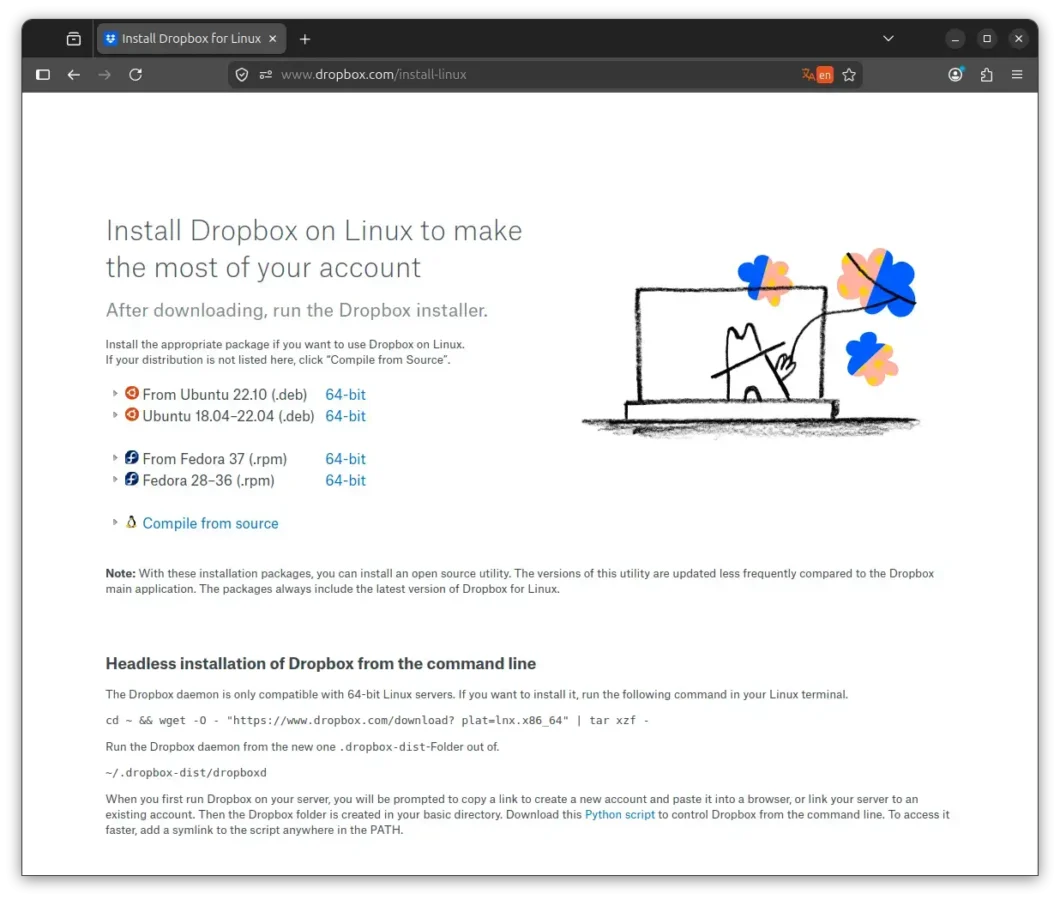
If you want to prefer to use GUI installation, simply log in to your Ubuntu either using locally or on a VPS. Open your Firefox or other browsers if you’ve installed any, visit the official Dropbox Linux download page. Download the appropriate Ubuntu .deb package for your system.
Download Dropbox For Ubuntu from Official Website
To download Dropbox on Ubuntu, visit the official Dropbox website and download the package compatible with your Ubuntu version. Dropbox provides two packages: one for Ubuntu 18.04 to 22.04 and another for Ubuntu 22.10 and later. Choose the appropriate package for your system.
Install Dropbox with the Ubuntu App Installer
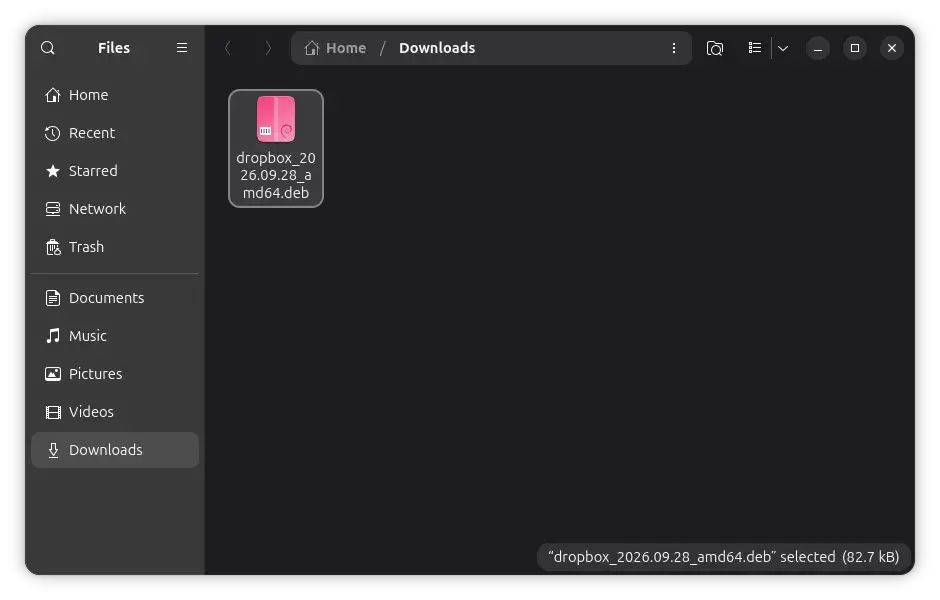
Wait for the download to finish. After downloading, go to your /home/Downloads/ directory and find the Dropbox .deb package you’ve downloaded, then double click on it.
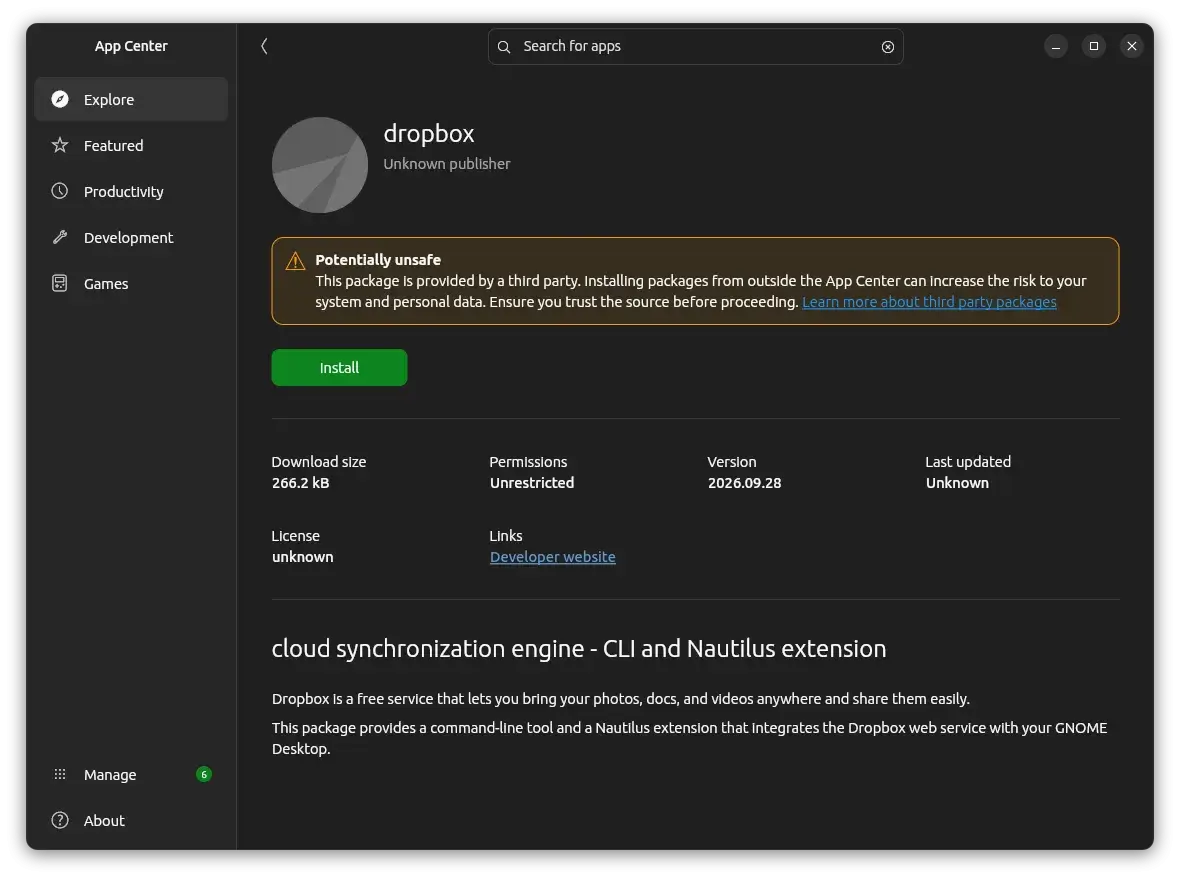
This will open the deb package in the Ubuntu App Center. Click on Install to start installation.
Note:
It will show a caution message that a third-party provider provides this package; ensure the source is safe. As you downloaded the package from the official website, there is no problem.
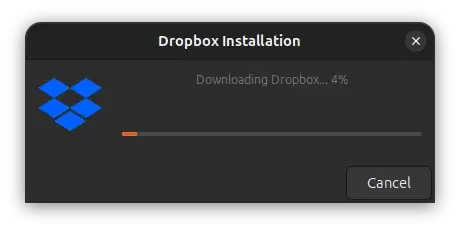
After installation, Dropbox should open automatically. If it doesn’t, open the Applications Overview, search for Dropbox, and launch the application. On the page that opens, click Start Dropbox. If an alert appears, click Next to continue. Dropbox will then download and install the required components.
Sync Ubuntu to Dropbox Account
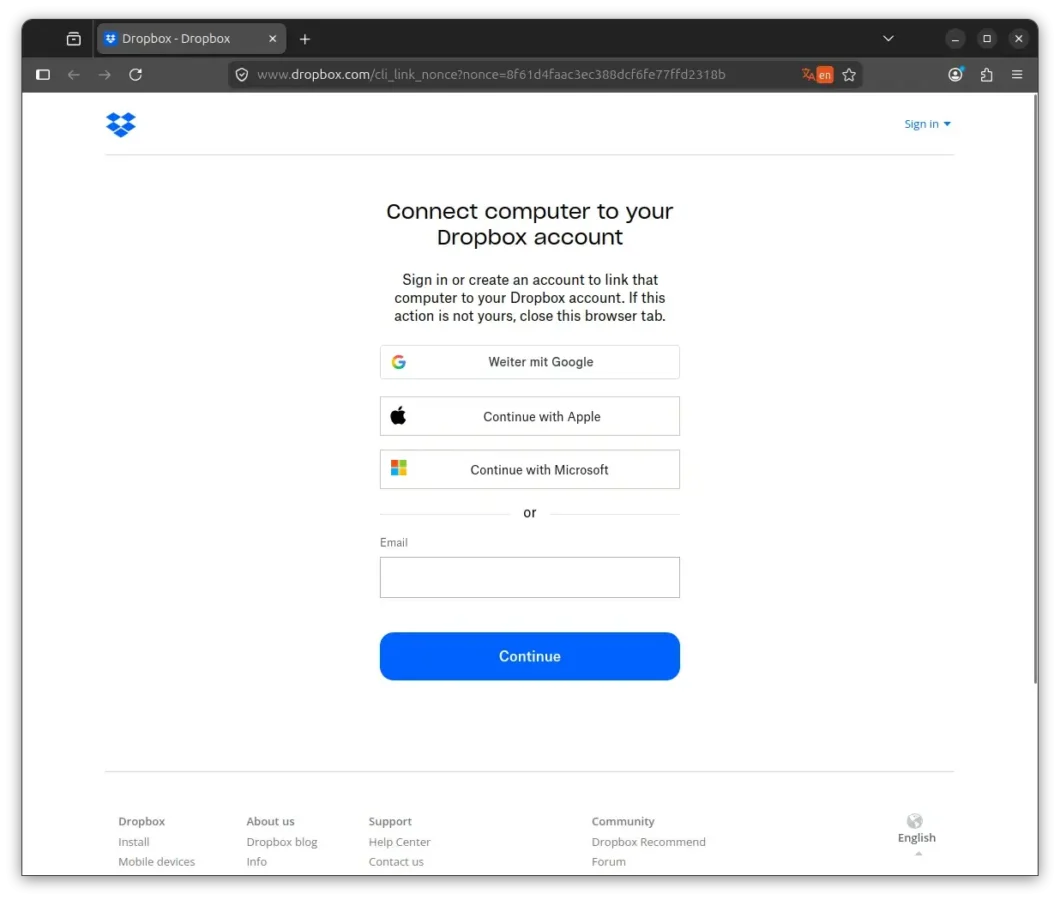
After downloading and installing the required components, Dropbox will open your web browser and redirect you to the Dropbox website to connect your Ubuntu system to your Dropbox account. Log in to your account and authorize the connection to start syncing.
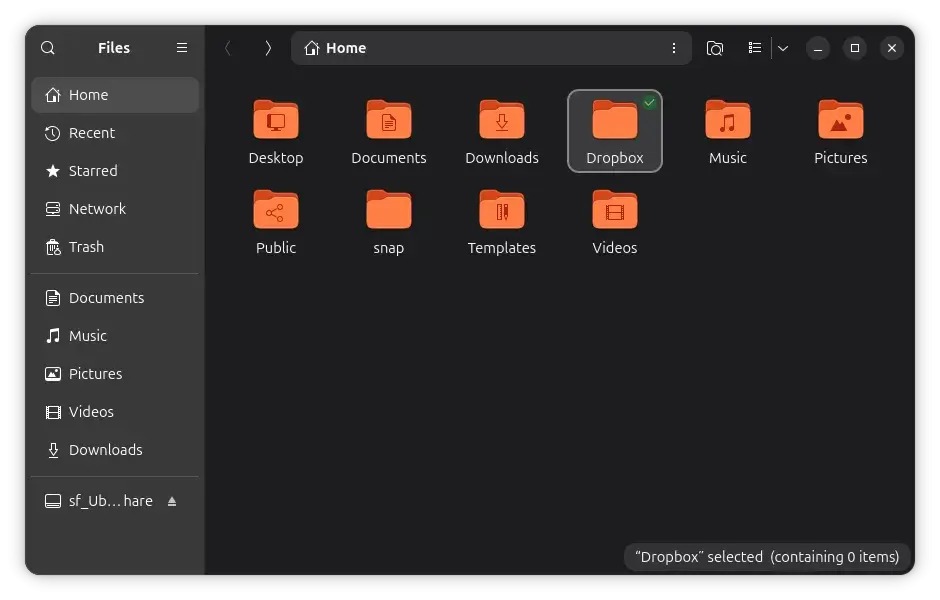
Once Dropbox is connected, it will create a Dropbox directory in your home directory (/home/username/Dropbox). Any files you add to this directory will automatically be uploaded to your Dropbox cloud storage and synced across your connected devices.
Note:
If you are not redirected to the Dropbox website automatically, Dropbox may already be running in the Ubuntu Top Bar. Click the Dropbox icon and select the Sign in option to connect your account and start syncing.
How to Uninstall Dropbox from Ubuntu
If you no longer need Dropbox on your Ubuntu system, you can uninstall it using either the Terminal or the graphical interface (GUI). Both methods remove the Dropbox application from your system.
Uninstall Dropbox Using the Terminal
You can use the apt package manager to remove Dropbox from Ubuntu. Open the terminal and run the following command:
sudo apt remove dropbox -yIf you were not logged in as a sudo user, you will be asked to enter your password to sudo user to confirm removal, the command above uninstalled the Dropbox application while keeping its configuration files.
If you also want to remove the associated configuration files, use:
sudo apt purge dropboxUninstall Dropbox Using the GUI
If you are using Ubuntu Desktop or Ubuntu VPS with a graphical interface installed on it, you can also remove Dropbox with the GUI too.
- Open the App Center from the Application Overview.
- Search for Dropbox
- Open the Dropbox application page
- Click uninstall
- Confirm the removal
Ubuntu will remove the Dropbox application from your system. You can also use the uninstallation commands too which we discussed in the previous section.
Note:
Uninstalling Dropbox does not automatically remove your local Dropbox directory or its contents from your home directory. You can delete this folder manually if you no longer need the locally stored files.
Summary
There are several ways to install and uninstall Dropbox on an Ubuntu VPS server. You can install it through the terminal by downloading the Dropbox .deb package and using the APT package manager, or use the Ubuntu desktop environment to download and install it graphically.
In this guide, we’ve discussed both ways you can use the one you want. The installation and uninstallation process is straightforward and only takes a few commands or clicks, depending on the method you choose.
Frequently Asked Questions
Will Uninstalling Dropbox Delete Local Files?
No. Uninstalling Dropbox from Ubuntu does not automatically delete your files. Files stored in your Dropbox remain available online, even after uninstalling the desktop application.
How to Fix Dropbox Not Opening on Ubuntu?
If Dropbox doesn’t open on Ubuntu, first try launching it manually from the Terminal:
dropbox startIf it is already running but not responding, restart it
dropbox stop
dropbox start
If the problem persists, make sure Dropbox is properly installed and connected to your account, and make sure your system meets the requirements. You can also try reinstalling the Dropbox application.
How to set Dropbox to automatically start up in Ubuntu?
You can configure Dropbox to start automatically whenever you log in to Ubuntu. Open the Terminal and run:
dropbox autostart yThis command enables automatic startup. To disable it later, run:
dropbox autostart nIs it possible to reinstall Dropbox on Ubuntu?
Yes, you can reinstall Dropbox at any time after uninstalling it. We’ve discussed the installation methods; you can follow this guide to install it again whenever you need.