How to install Ubuntu Desktop on VMware Workstation 17?
We will explain how you can easily install Ubuntu 22.04 desktop on VMware Workstation 17. Here, we are using VMware Workstation 17, but you can use any application for virtualization.
You have to download these two tools before starting installation.
• Download and install VMware Workstation 17
• Download iso version Ubuntu Server 22.04 LTS
Tip: The general process of installing the Linux operating system in VMware Workstation is almost the same in all versions. Please keep in mind that the installation steps may be slightly different based on the update or major changes in newer versions.
Installing Ubuntu Desktop consists of two main parts:
First, you will create a virtual machine using VMware Workstation 17.
Second, you can install Ubuntu Server 22.04 and customize it.
How to create a virtual machine in VMware Workstation 17?
To start, you need to make sure that the VMware workstation is installed on your computer.
Step 1- Launch VMware Workstation 17 on your computer/PC.

Step 2- To create a virtual machine, you can use the “File” > “New Virtual Machine” section or use the “Ctrl+N” shortcut key.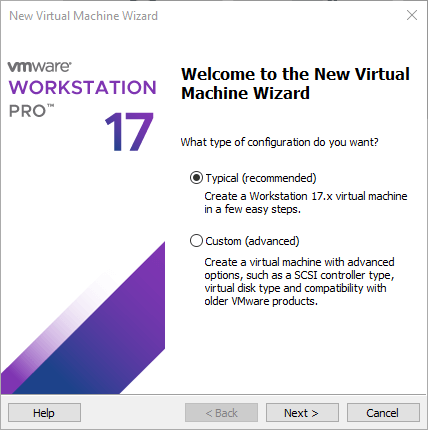
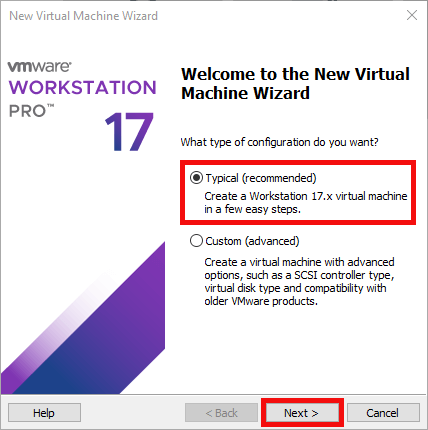
Step 3- Select the “Typical” option, which is VMware’s recommended, and click “Next“.
Step 4- Three options will appear. You will choose the third option “I will install the operating system later”.

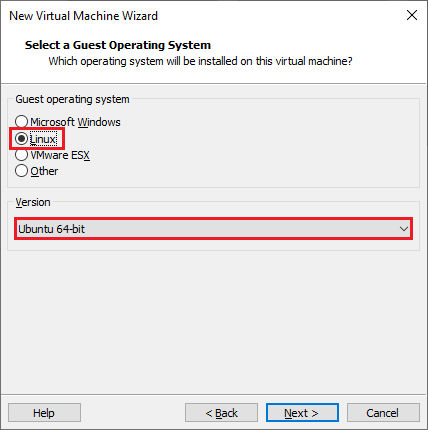
Step 5- On “select a guest operating system” tab you will choose “Linux” as the operating system and for the “version” you will choose “Ubuntu 64-bit”.
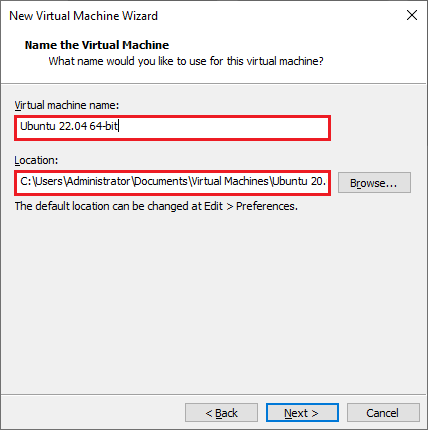
Step 6- In the following tab, you can assign a name of your choice to the virtual machine. For example, I will name it “Ubuntu 22.04 64-bit“. You can also change the location of the virtual machine by browsing and selecting a different drive or folder. To do this, click the “browse” button and choose the directory where you want to save your virtual machine.
Step 7- In the next tab, you can specify the capacity “disk” of your virtual machine. I have allocated “30GB” for this virtual machine.
Also, I will choose the option “split virtual disk into multiple files” and click “Next”.
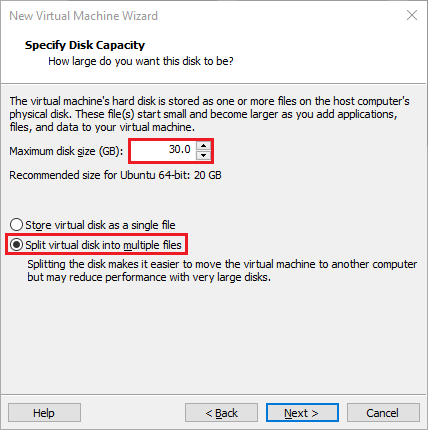
Tip: Our suggestion for Ubuntu desktop disk size is 30 GB so that the virtual machine can perform smoothly.
Step 8- To configure hardware resources and customize them, such as “RAM”, “hard drive” and “CPU”, we click on the “Customize Hardware” option.

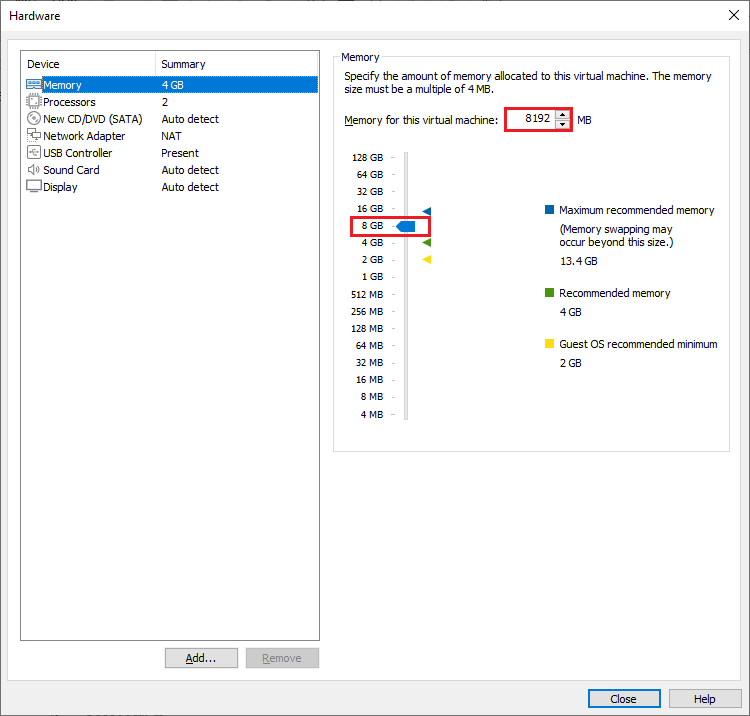
Step 9- You’ll see that the “Memory” is currently set to “2GB”. You can increase and decrease the memory according to the capacity of your computer. I am going to increase it to “8GB”.
Step 10- The “number of processors” is set to “2″ by default, but this number is configurable, too. I’ve changed it to “4″.
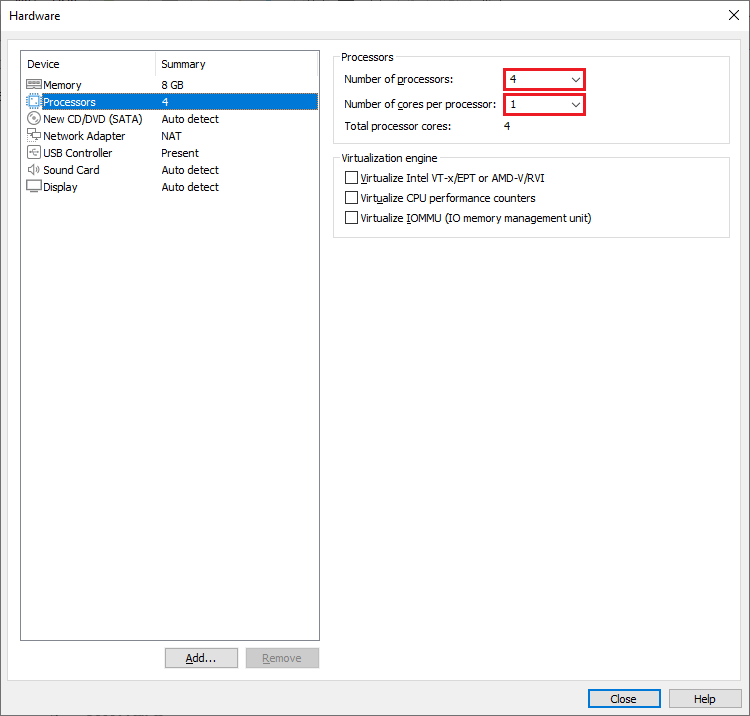
Tip: Also, the option “number of the cores per processor” is set to “1″ by default and you’re better off to not change it. If you change it, then powering on the virtual machine will fail because it is configured to use more virtual processor cores than the host supports.
Step 11- From the option “new CD/DVD (SATA)”, click on the option “use ISO image file”. Then, you can browse to the location where your Ubuntu ISO file is located and select the downloaded file of Ubuntu server 22.04 and click “Close” button.

Step 12- Congratulations, This process creates your Ubuntu server 22.04 on VMware Workstation player. Once the Ubuntu Server 22.04 64-bit is created, you can click the “power on this virtual machine” which is going to start the installation of Ubuntu Server 22.04 on the VMware workstation 17.

How to install Ubuntu desktop on VMware Workstation?
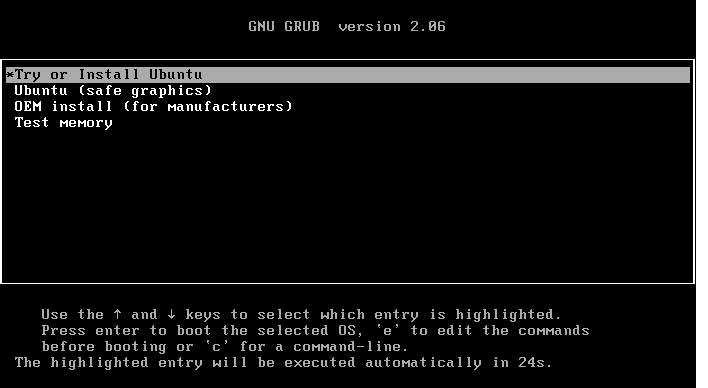
Step 1- When your virtual machine is turned on, you can select “try and install Ubuntu” and press “enter” to start the installation of the Ubuntu desktop 22.04.
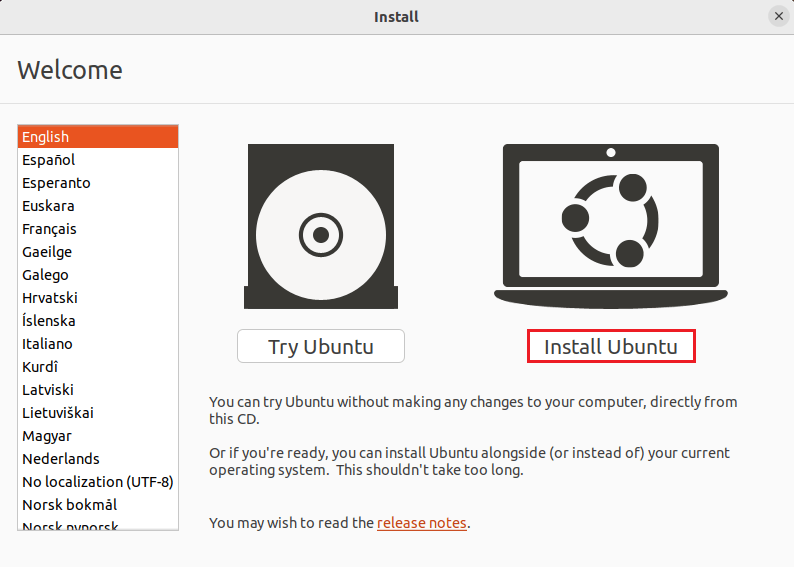
Step 2- Now, you will see an interface like this. On the left-hand side of the screen, you can choose your preferred language and then click on the “install Ubuntu” button.
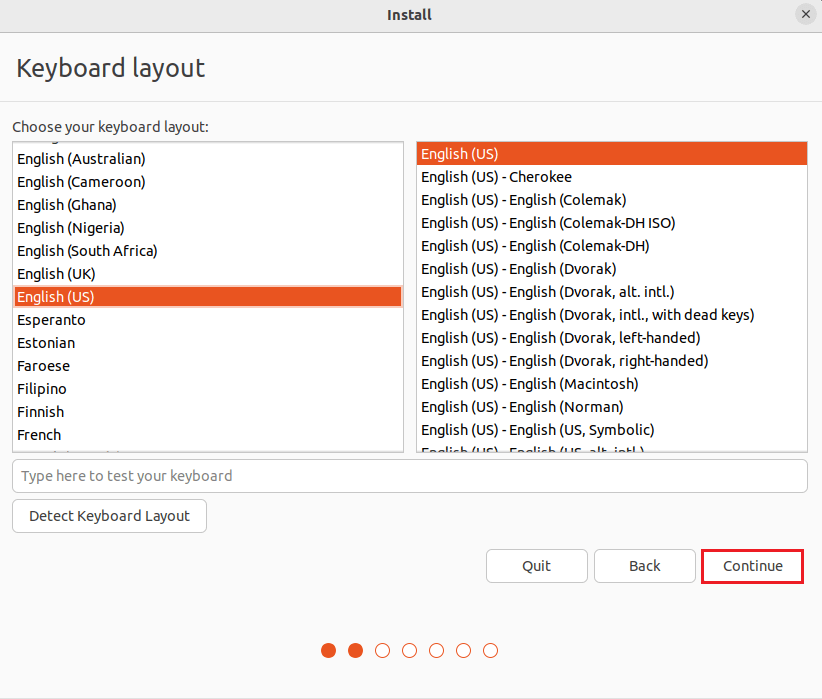
Step 3- In the next window, you can customize your “keyboard layout” and choose your favorite one.
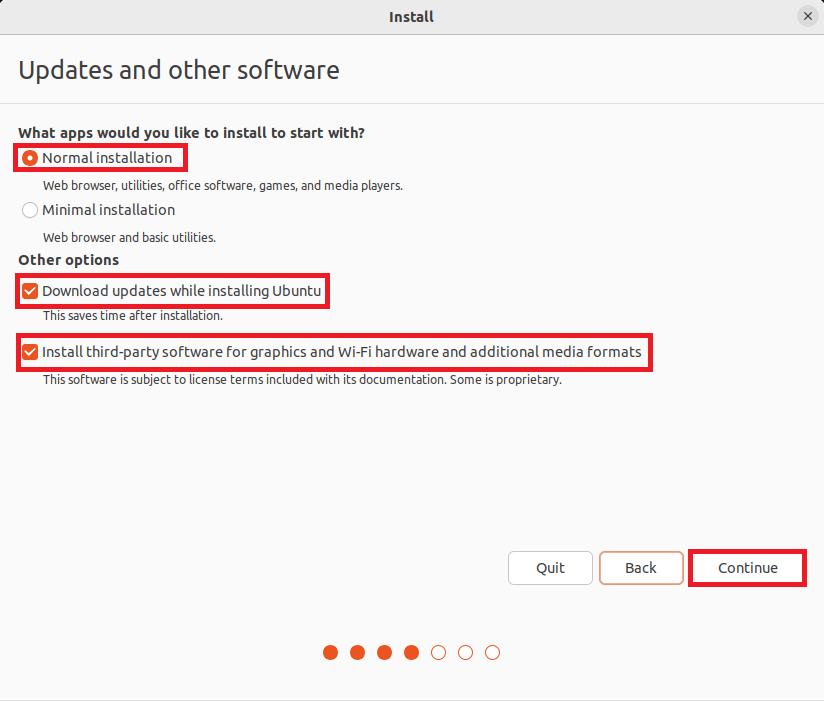
Step 4- You will be asked to personalize the “updates and other software”. The “normal installation” is selected as default, and I don’t change the default here. But in the “other options”, I will select “install third-party software” plus “download updates while installing Ubuntu”. Click the “Continue”.
Step 6- On the “installation type” window, the option “erase disk and install Ubuntu” is selected as default. Don’t change the default, and don’t worry. Because it won’t delete anything from your host machine, and your hard disk will remain intact.
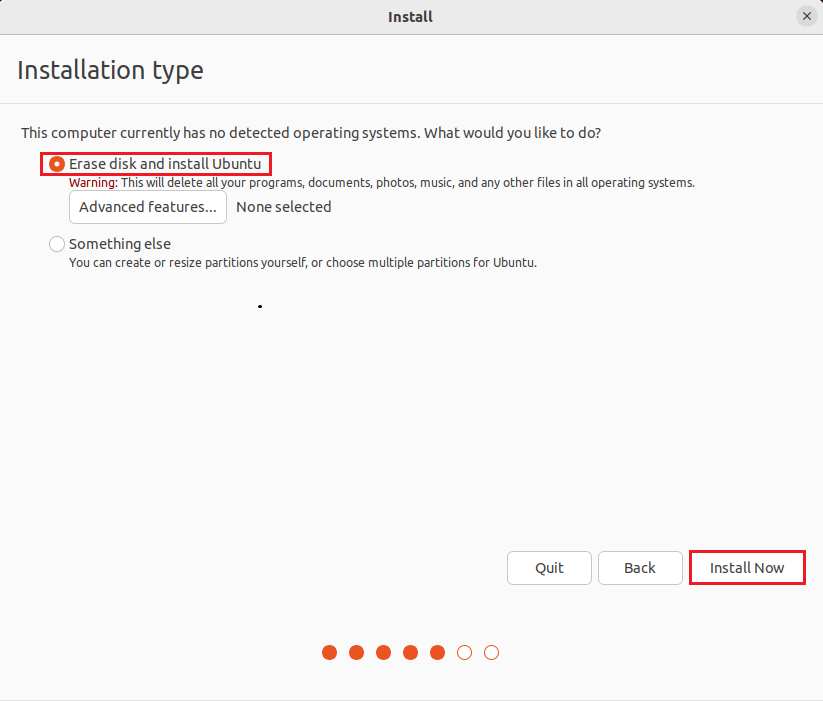
Tip: If you install Ubuntu on your actual physical hardware, it will erase your data on your hardware. But, because you are installing Ubuntu on VMware Workstation 17 here, it won’t do anything on your hardware.
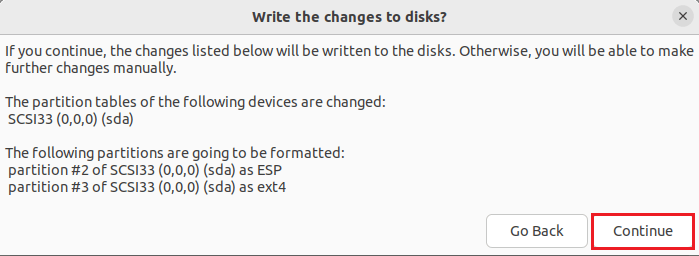
Step 7- Click on “Install now” and then on “Continue”. You can specify your location on the “Where are you?” window. Ubuntu has specified my location as Berlin by default.
Step 8- On the “Who are you?”, you will write the “username” and “your computer name” and then provide a strong password for your Ubuntu Server 22.04. Click on the “Continue”.

Step 9- Once you’re done, it will start the installation of Ubuntu Server 22.04 on your virtual machine.
You have to wait until the installation is accomplished to 100%.
Step 10- After installation of Ubuntu Server 22.04, you will see a message about restarting the computer to use the new Ubuntu 22.04 Desktop on VMware Workstation 17. Click on the “restart now”.
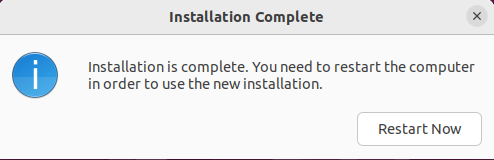
Tip: A message such as “please remove installation medium, then press enter” will pop up. Here, you only need to press “enter”.
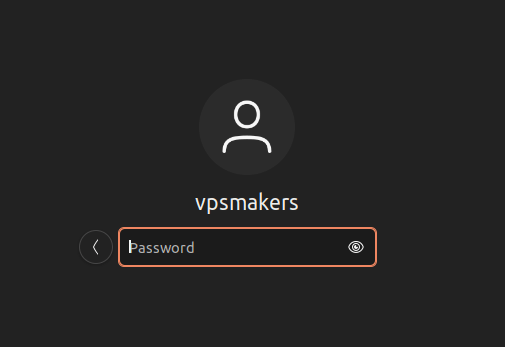
You will see that Ubuntu Server 22.04 has been restarted on your virtual machine. Your username will appear. Click on your username and provide the password defined at installation time. Press “enter”.
Tip: You have to enable Virtualization using BIOS before going through this process.
You have installed Ubuntu 22.04 Desktop on VMware Workstation 17. Now, you can see the Ubuntu operating system on your computer screen.
Summary
This tutorial is for techies who are using Ubuntu 22.04 Server Linux and want to install its default Ubuntu Desktop environment on VMware Workstation 17. We at VPSmakers provide customers with the maximum security and 24/7 uptime Linux Servers.
Our expert team will provide Linux VPS users with quick data backup and restoration. In an upcoming post, we will write about How can install Ubuntu Desktop on Ubuntu Server 22.04