How to install Plesk on Windows Server?
Plesk is designed to help IT specialists manage web, DNS, mail, and other services through a comprehensive and user-friendly GUI. Plesk is a hosting control panel, an intermediary between system services and users. To start the installation, make sure you are connected to the VPS.
How to install Plesk on Windows Server VPS?
To install Plesk on a Windows Server, there are several safe and reliable methods available. In this article, we will cover two of the most common approaches:
The one-click installation method is the fastest and easiest way to install Plesk, and the GUI-based installation method, which provides a more interactive setup process.
Install Plesk on Windows server using one click
One-click installation allows you to install Plesk on any platform with minimal configuration. Follow the steps below to set up Plesk on your Windows Server using this method.
Step 1 – Open Windows PowerShell
First, you need to open your Windows PowerShell, click on the Start menu, and search for PowerShell or press (Win + R) shortcut and type “powershell”, then press Enter.
Step 2 – Download Plesk installer
First, you need to download the Plesk installer with this command:
Invoke-WebRequest -URI https://installer-win.plesk.com/plesk-installer.exe -OutFile C:\plesk-installer.exe
Note: The installer will download the latest version of Plesk with the default configuration and features on your Windows server.
Step 3 – Install Plesk
To continue the installation, run the following command and press Enter:
.\plesk-installer.exe --select-product-id=panel --select-release-latest --installation-type=recommended
Note: this method applies all available updates and patches to increase the performance and security of your server. This method only installs the main components and special features of Plesk.
If you are looking for a more detailed installation, you can use the second method (installation via GUI) and install the Plesk control panel. You can add new packages and features you want to add to Plesk after logging in to Plesk.
Install Plesk on Windows Server using GUI
The Plesk GUI installation on a Windows server provides a user-friendly way to setup plesk using a web-based interface. This approach is more ideal for users who prefer a visual installation process instead of the command line
Step 1 – Download and run the Plesk installer
To start the installation, you need to download the Plesk installer from the Plesk official website.
When you run the Plesk installer by double-clicking it, it usually starts a browser-based installation interface automatically and selects the latest stable version of Plesk by default.
If you want to install a specific version or access all available versions, you need to run the installer using Command Prompt or PowerShell with additional parameters. Otherwise, you can open it easily by double-clicking on it.
For installation, it is recommended to place the Plesk installer in a folder on the C:\ drive (for example, C:\plesk), then navigate to that folder using:
cd C:\plesk
To start the Plesk GUI installer in your browser with access to all available versions, run the following command:
plesk-installer.exe --web-interface --all-versions
This will open the installer in your browser and allow you to choose the desired Plesk version and components manually.
Step 2 – Start Plesk Install In Windows VPS
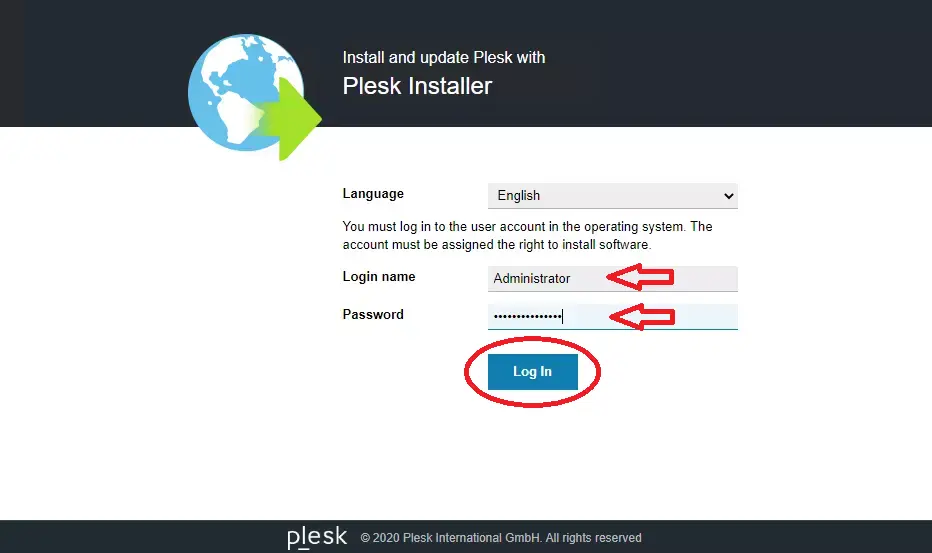
After downloading Plesk and opening it, you will automatically enter the browser environment.
To start the installation, you must first enter your Windows Server username and password.
Step 3 – Plesk products installer
Here, you will need to click on the Install or Upgrade product section.

Step 4 – Install Or Upgrade Products
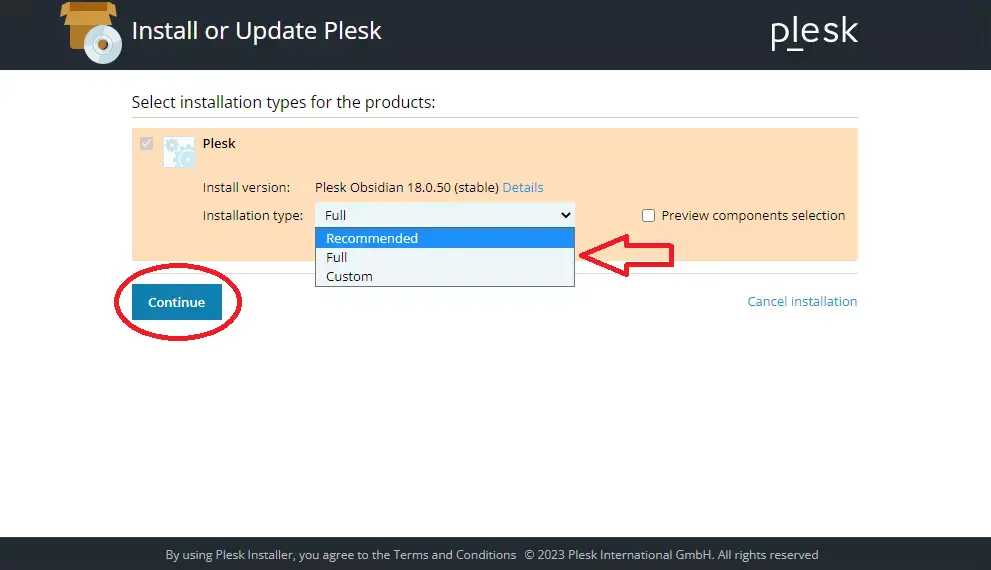
Now select Plesk and the installation version of Plesk, then click on the Continue section.

Step 5 – Installation Products Type
There are three installation types of Plesk: Recommended, Full, and Custom Sections. It’s better to select the recommended version and then click on the continue button.
In this section, if you enable “Preview components selection”, you will be able to choose the packages you want to install in the next step. If you do not want to manually manage the installation components, simply leave this option disabled.
Step 6 – Packages To Be Installed
Select the components that you need to install. After selecting the required items, you can scroll down on the same page, click Continue, and enter the next section.
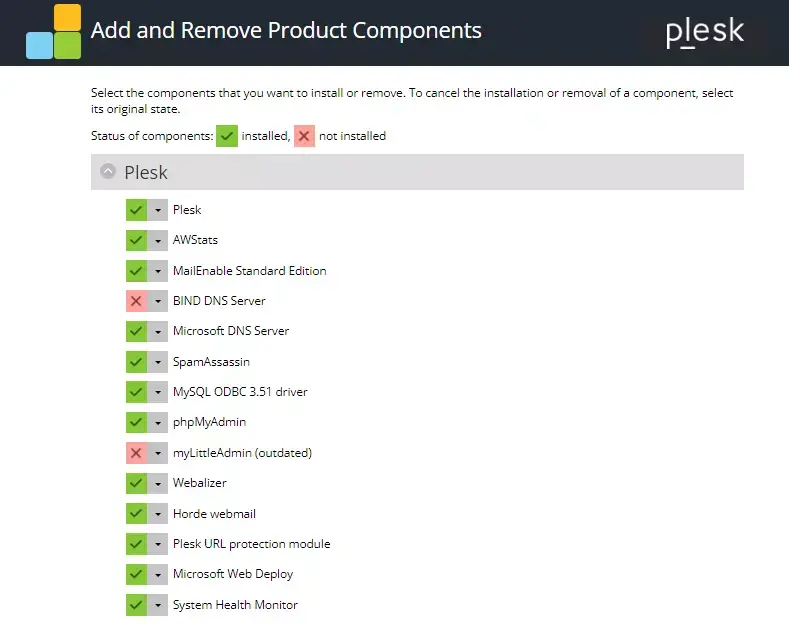
Note: If you forget to select any of the required items for any reason, you can enter the Plesk control panel environment after installation and install the required components.
Step 7 – Set Admin Password
You need to create your administrator password to log in to the Plesk control panel.
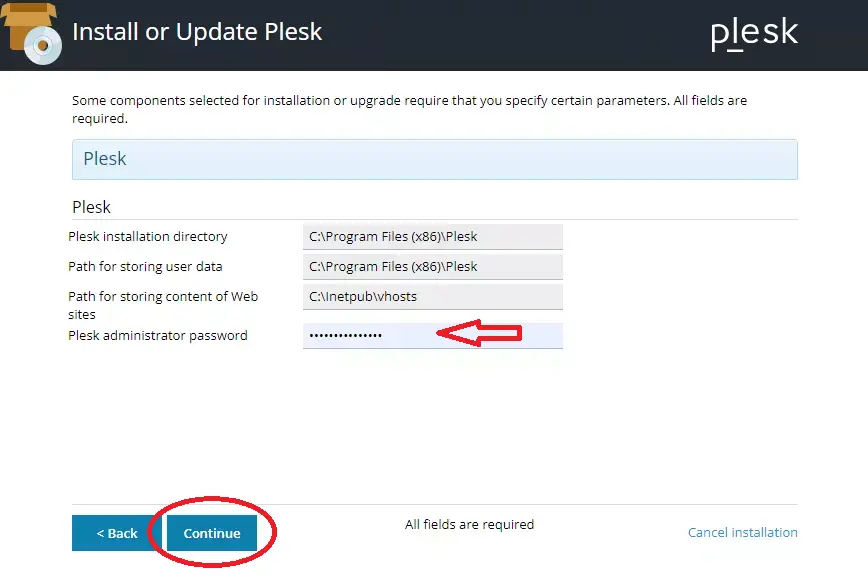
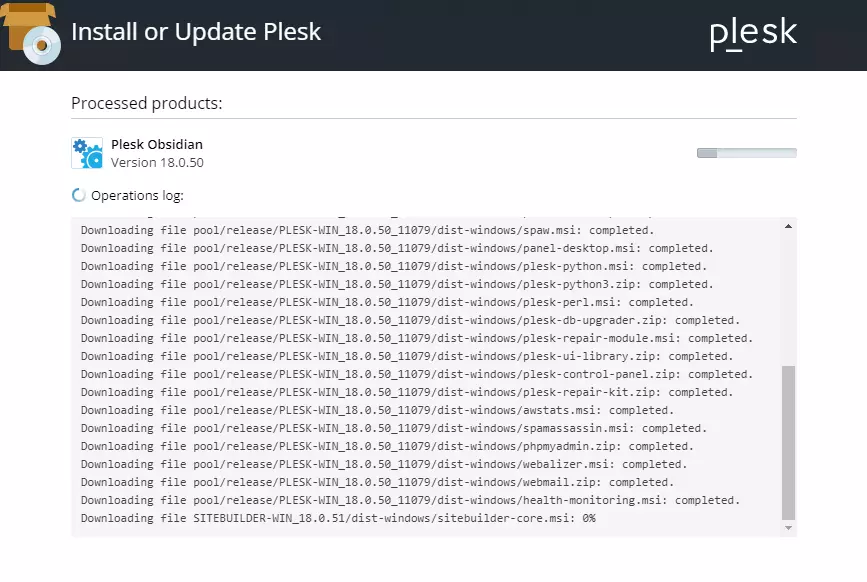
Step 8 – Installation process
By clicking on the Continue Key, you will see a page that shows that the installation of Plesk has started, and this will take some time.
After the installation is complete, you will see a page indicating that the Plesk installation on Windows Server is complete.
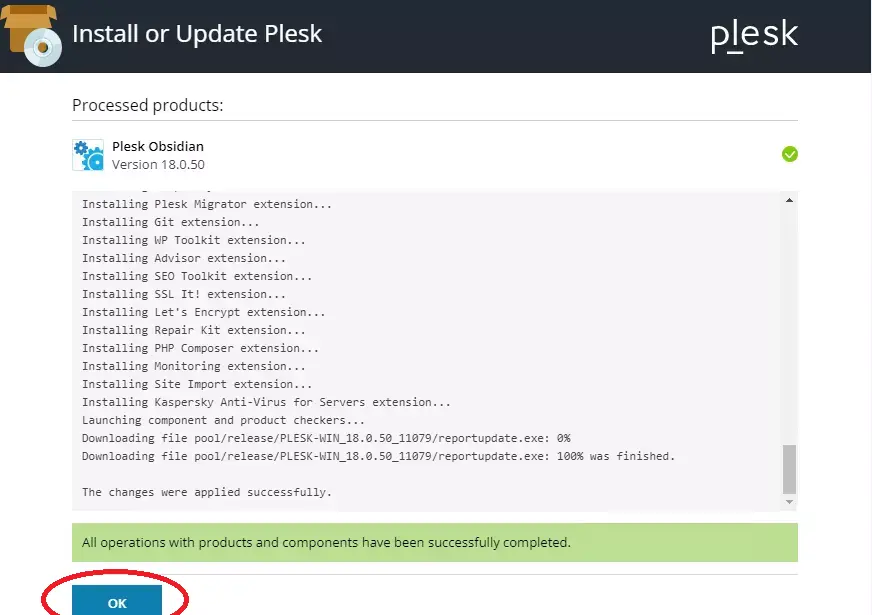
You can use the following address to log in to the Plesk control panel:
https://<SERVER_NAME_OR_IP_ADDRESS>:8443
Plesk Licence
Plesk is not a fully free control panel. It has a 15-day free trial that allows you to access full premium options during these 15 days, but after the trial ends, most of the premium options will be inaccessible.
And you need to buy a license from the Plesk official website. Which the prices start from $16.99 per month up to $62.99 per month.
Common issues
After installing Plesk on your Windows Server, you may experience network or connection loss issues. This happens because Plesk automatically modifies DNS settings and applies certain firewall rules, including setting a loopback DNS (127.0.0.1), which can disrupt your internet connectivity.
To resolve this issue, you need to manually restore your DNS settings.
What is the port for Plesk?
Here’s a clearer and more professional version of your text: Plesk itself does not rely on a single specific port. Instead, it uses ports based on the services running on the server, such as ports 80 and 443 for HTTP and HTTPS, along with other default ports required by each service.
If you are experiencing service issues, they may be caused by blocked ports on your Windows Server. In this case, you can resolve the problem by opening the required ports, as explained in the following article.
How to open port on Windows Server.
And if you are not using some services and not planning to use them, it’s better to block the open ports that you don’t need. You can use this article to learn block ports on Windows server firewall.
Conclusion
Plesk is a powerful and lightweight control panel for managing web servers and mail servers, and you have many methods to install it on a Windows server, which we covered two of the most used ways in this article. Hope this article helped you to install Plesk correctly on your Windows server.
If you face any problems during installation, we will be happy to help you. Just contact us using the comments section.
Plesk supports Linux Servers too. If you want, you can install Plesk on Ubuntu too.
The Author Richard.M
Richard started out as a member of the support team and is now a full-stack web developer and support team lead at VPS Makers. He is passionate about providing people with top-notch technical solutions based on his 5 years of experience in web hosting, but as much as he enjoys coding and creating new works, he secretly dreams of becoming a sports star.
More from Richard.M