How to Install Gnome on Ubuntu server-VPSMakers
Ubuntu Server is intentionally shipped without a graphical desktop environment to keep the system lean, fast, and resource-efficient. However, there are valid situations where adding a GUI is necessary, and GNOME is the most robust and well-supported desktop environment available for Ubuntu.
Because Ubuntu Server is typically run in a headless environment – meaning no physical monitor is attached – installing GNOME alone is not sufficient. To access the desktop, you also need a remote desktop solution. This guide uses [XRDP](How To Install XRDP on Ubuntu 22.04?), which integrates seamlessly with Windows Remote Desktop Connection (mstsc) and requires no additional client software.
This guide covers the entire process for both Ubuntu 22.04 LTS (Jammy Jellyfish) and Ubuntu 24.04 LTS (Noble Numbat): installing GNOME, configuring XRDP, setting up the display manager, and addressing performance considerations, troubleshooting, and clean removal.
Before you begin, ensure your system meets the following prerequisites:
- A running Linux VPS or Ubuntu Server instance (22.04 or 24.04 LTS)
- At least 2GB of RAM (4GB recommended)
- Minimum 10GB of free disk space
- A user account with sudo access
- An active internet connection
- SSH access to the server (e.g. via PuTTY)
Installing GNOME on Ubuntu Server
Before installing any packages, make sure your system is fully up to date to avoid dependency conflicts.
sudo apt update
&&
sudo apt upgrade -y
Choose Your Installation Method
Ubuntu provides two options for installing GNOME. Choose based on your needs:
Option 1 — Minimal GNOME (Recommended for servers)
Installs only the core GNOME shell without unnecessary applications, keeping the system footprint small.
sudo apt install gnome-session gdm3 -y
Option 2 — Full GNOME Desktop
Installs the complete GNOME environment including all default applications. Expect higher disk and RAM usage.
sudo apt install ubuntu-desktop -y
Install XRDP for Remote Access
Since Ubuntu Server runs headless, you need XRDP to access the GNOME desktop remotely. Without this step, the installation is incomplete.
sudo apt install xrdp -y
sudo adduser xrdp ssl-cert
sudo systemctl enable xrdp
sudo systemctl restart xrdp
Open the Firewall Port
sudo ufw allow 3389/tcp
sudo ufw reload
Reboot the Server
sudo reboot
Configuring XRDP for GNOME on Ubuntu Server
After installation, XRDP by default may launch a blank or basic desktop session instead of GNOME. To make sure XRDP always loads the GNOME session correctly, one extra configuration step is needed.
Force XRDP to Use GNOME Session
Run the following command for your user:
echo "export XDG_SESSION_TYPE=x11" >> ~/.profile
echo "gnome-session" >> ~/.xsession
Then make the file executable:
chmod +x ~/.xsession
Restart XRDP to apply the changes:
sudo systemctl restart xrdp
Verify XRDP is Running Correctly
sudo systemctl status xrdp --no-pager
You should see active (running). If not, check the logs:
sudo journalctl -u xrdp -n 50 --no-pager
Fix Black Screen After Login (Common Issue)
If you connect via Remote Desktop and see a black screen, run:
sudo sed -i 's/allowed_users=console/allowed_users=anybody/' /etc/X11/Xwrapper.config
sudo systemctl restart xrdp
Connect from Windows
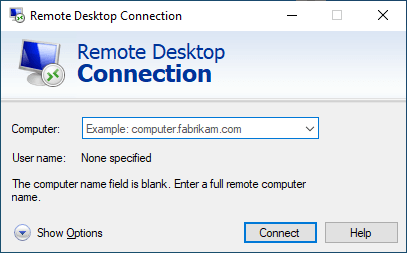
Once the server is back online, open Remote Desktop Connection on your Windows machine:
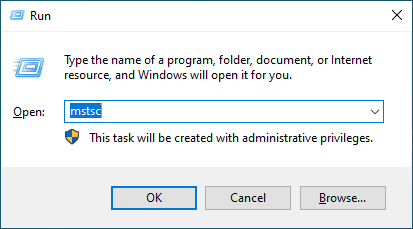
Step 1: Press Win + R, type mstsc, and hit Enter
Step 2: Enter your server’s IP address
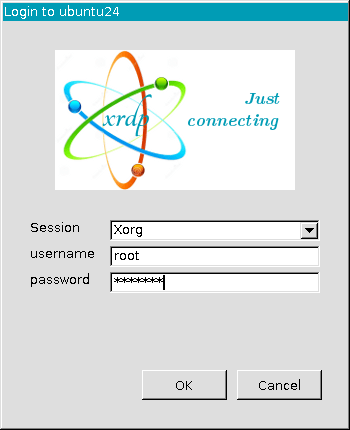
Step 3: Log in with your Ubuntu username and password
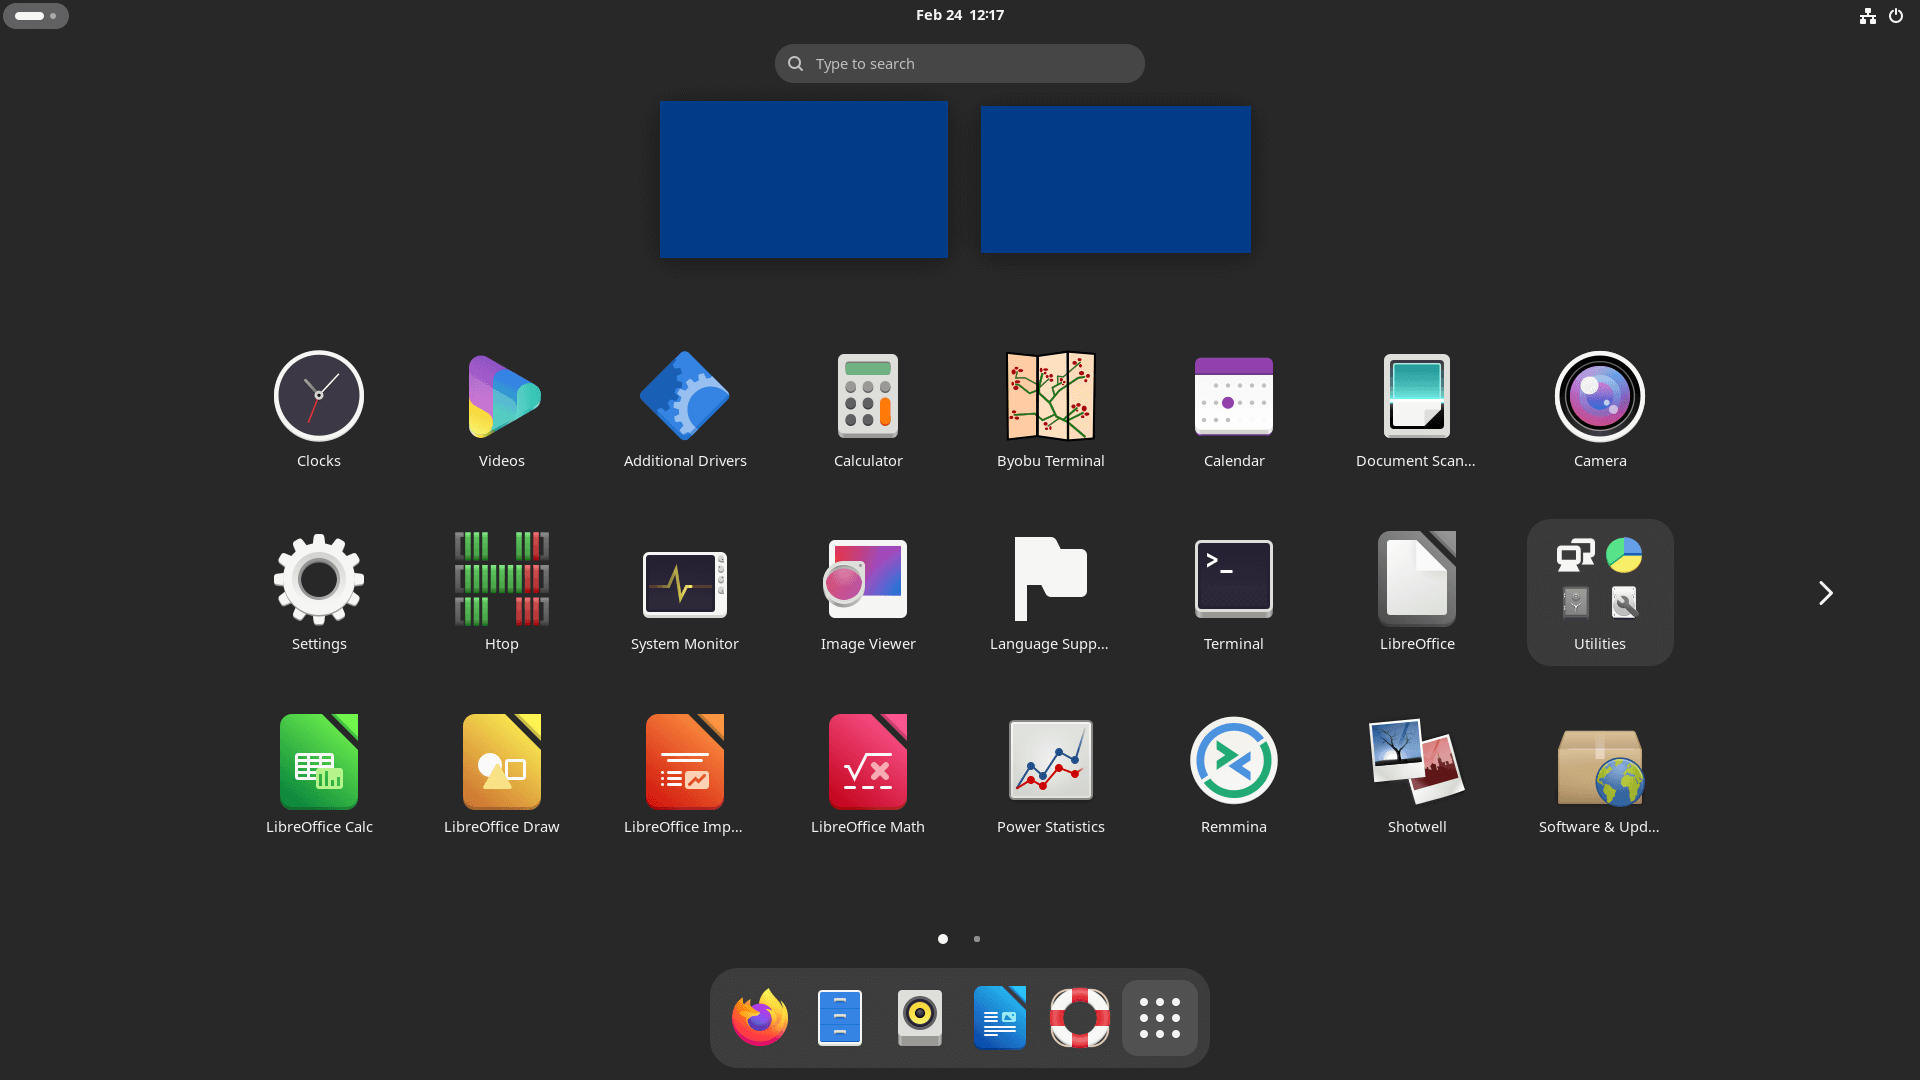
You should now be inside the GNOME Desktop environment
Conclusion
Installing GNOME on Ubuntu Server is straightforward, but accessing it requires one extra step that most guides overlook — XRDP. Without it, you have a running desktop environment with no way to reach it remotely.
To recap what we covered:
Updated the system and installed GNOME (minimal or full)
Installed and configured XRDP for remote desktop access
Configured XRDP to launch GNOME session correctly via x11
Connected to the desktop from Windows using Remote Desktop Connection
At this point your Ubuntu Server has a fully functional GNOME desktop environment accessible from any Windows machine on the network. If you run into a black screen after login or session issues, revisit the XRDP configuration section and make sure XDG_SESSION_TYPE=x11 is set correctly in your ~/.profile.
The Author Robert Smite
Hello! I'm Robert, specializing in virtual servers and cloud technology. With expertise in managing and optimizing virtual servers, my focus is on delivering understandable and practical content in this field. My goal is to enhance knowledge and assist individuals in selecting the best virtual services for their needs.
More from Robert Smite