How to Install XAMPP Web Server in Windows Server 2019
Installing XAMPP on Windows Server 2019 can seem daunting, but with the right approach, you’ll have your development environment running smoothly in under 30 minutes. This comprehensive guide walks you through every step, from initial download to troubleshooting common issues that often frustrate developers.
Why Choose XAMPP for Windows Server ?
XAMPP is a powerful and reliable local development environment that is still very popular with developers. It combines Apache, MySQL, PHP and Perl in one easy-to-install solution, making it ideal for creating and testing web applications before deploying them to live servers.
XAMPP is particularly useful for developers working in Windows Server environments. It replicates the functionality of the popular LAMP stack (Linux, Apache, MySQL, PHP) while offering full compatibility with Windows systems.
Whether you are creating WordPress websites, developing custom PHP applications or testing database connections, XAMPP provides a stable and flexible environment that simplifies your workflow.
Prerequisites and System Requirements
Before diving into the XAMPP installation process, ensure your Windows Server 2019 meets these requirements:
- Operating System: Windows Server 2019 (64-bit recommended)
- RAM: Minimum 2GB, 4GB recommended
- Storage: At least 1GB free space for basic installation
- Administrator privileges: Required for installation and configuration
If you’re running XAMPP on a virtual private server, make sure your hosting provider supports these specifications. A properly configured Windows VPS environment will give you the flexibility to test applications without affecting your main production server.
Step-by-Step XAMPP Installation Guide
Download XAMPP for Windows server 2019
Head to the official Apache Friends website to download XAMPP. Choose the version that matches your PHP requirements – most developers prefer the latest stable release. The download file is typically around 150MB, so ensure you have a stable internet connection.
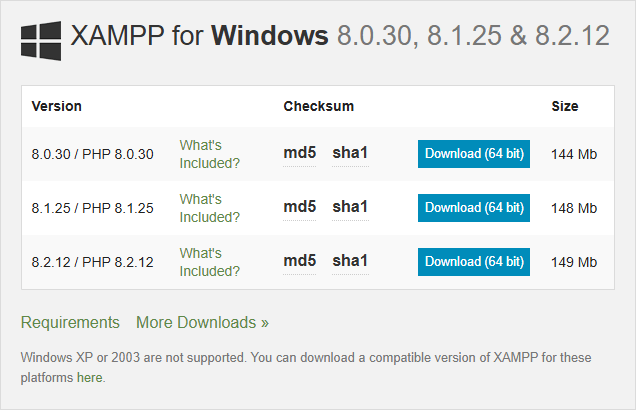
Note: Always download from the official source to avoid security vulnerabilities that come with unofficial distributions.
Running the Installation
Step1: Launch the installer as Administrator by right-clicking the downloaded file and click Next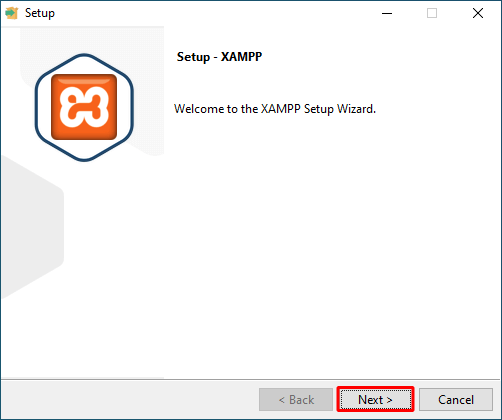
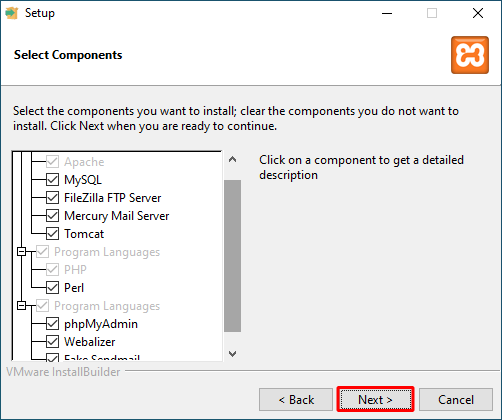
Step 2: Select components you need – typically Apache, MySQL, PHP, and phpMyAdmin
 Step 3: Choose your language
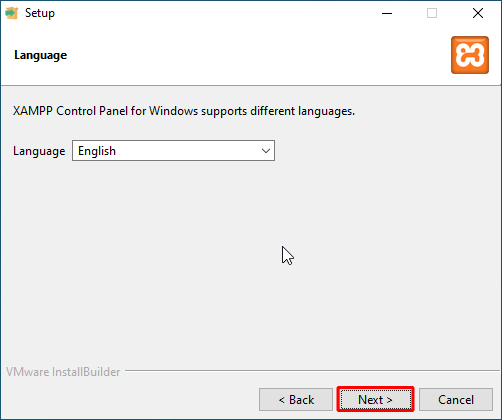 Step 4: Choose installation directory – the default C:\xampp works fine for most setups
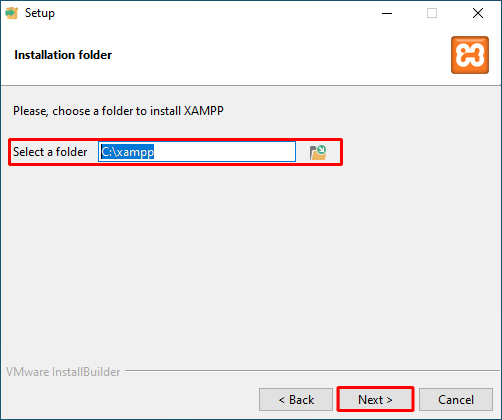 Step 5: Complete the installation – this usually takes 2-3 minutes
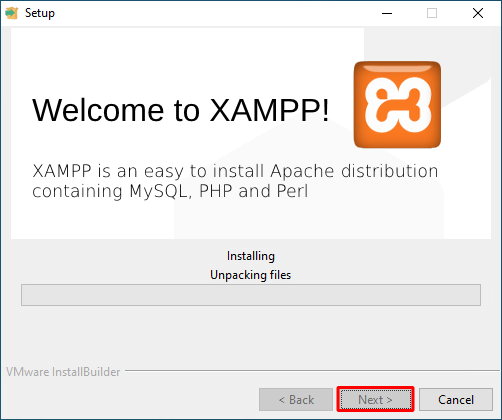
During installation, Windows Server might prompt you about firewall settings. Click “Allow access” to ensure XAMPP components can communicate properly.
Configuring XAMPP on Windows Server 2019
Step 1: Launching the Control Panel
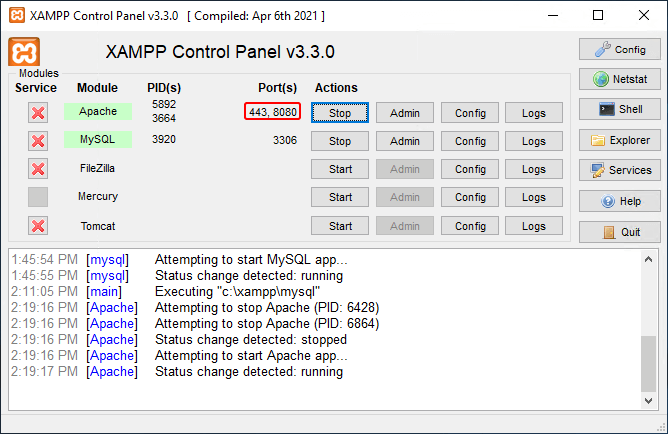
After installation, launch the XAMPP Control Panel from your Start menu. You’ll see modules for Apache, MySQL, and other services. Start Apache and MySQL by clicking their respective “Start” buttons.
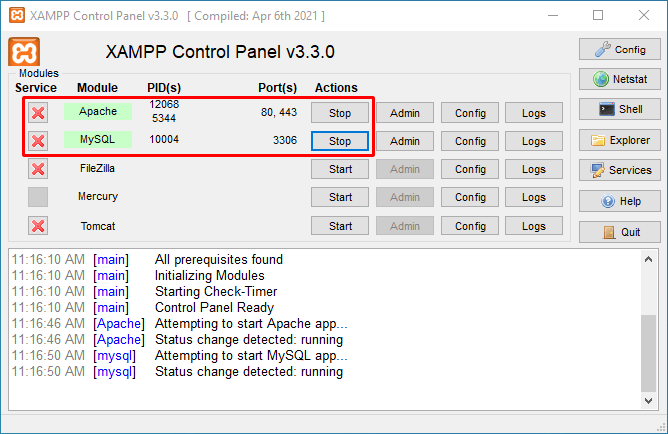
If everything works correctly, you should see green “Running” status indicators. The Apache module will typically use port 80, while MySQL uses port 3306.
Step 2: Changing Default Ports
Sometimes, Windows Server 2019 may already have services (like IIS or Skype) running on ports 80 and 443. If Apache fails to start, you can:
Click Config next to Apache > httpd.conf
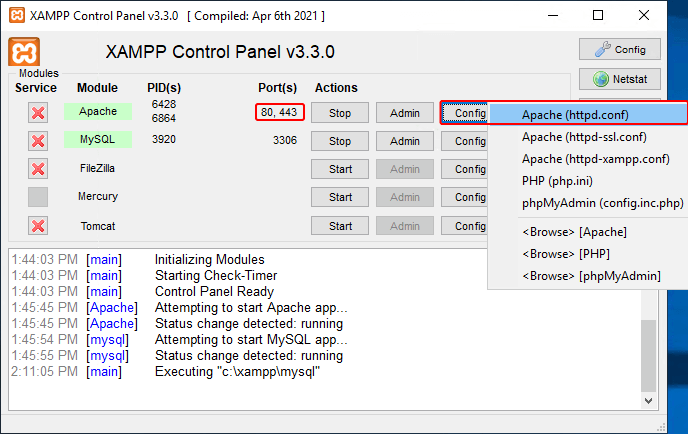
Search for “Listen 80” and change it to another port, e.g., Listen 8080. Save and restart Apache.
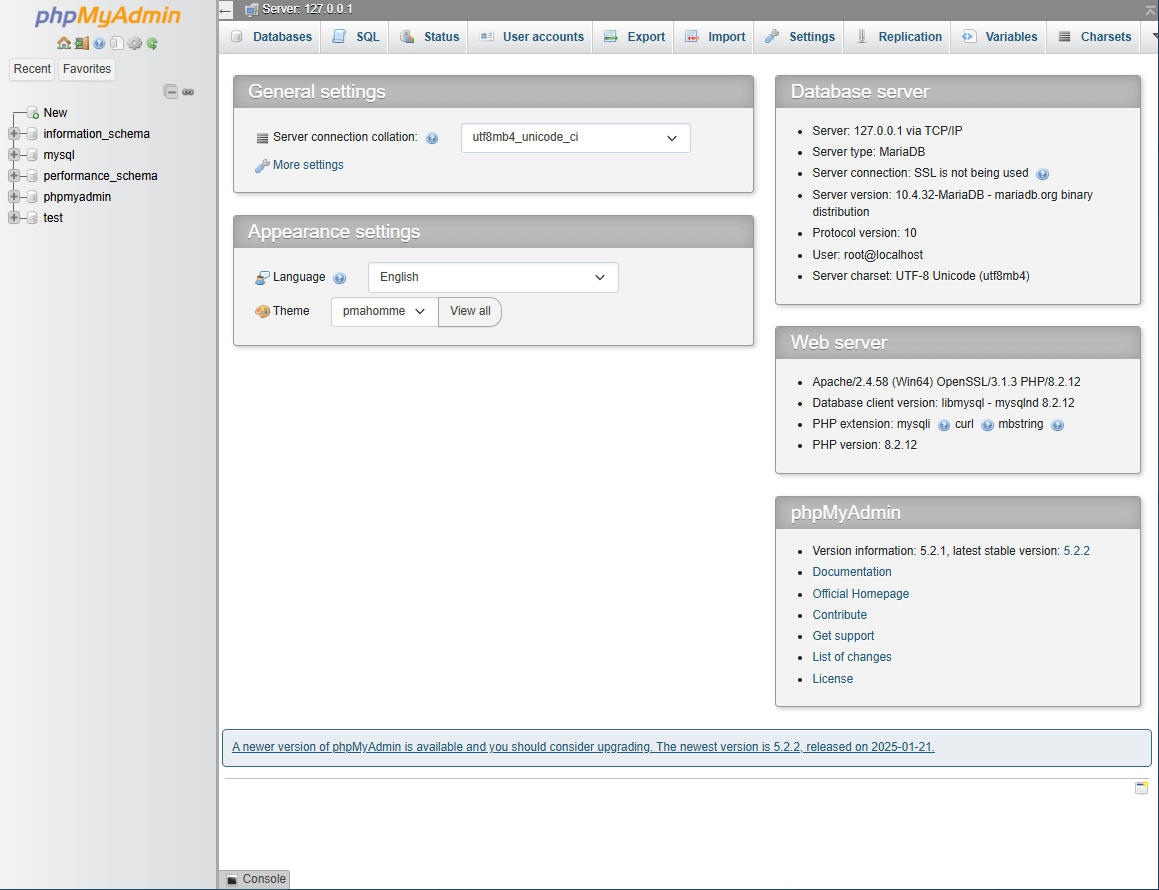
Step 3: Securing MySQL
- Open phpMyAdmin from the XAMPP Control Panel.
- Set a strong password for the root user.
- Update the configuration in config.inc.php file accordingly.
Accessing Your Development Environment
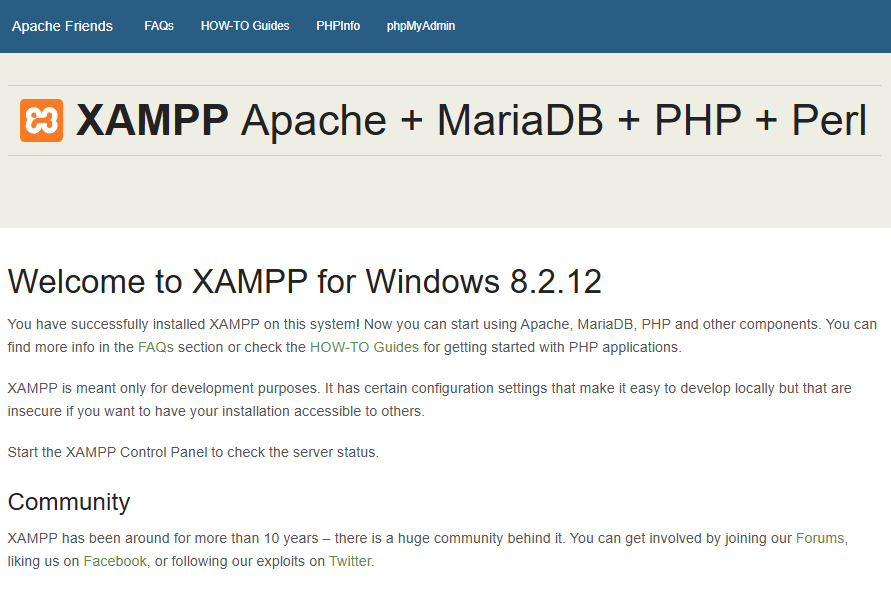
Once XAMPP is up and running, you’ve got a few ways to jump into your development environment. Just open your browser and type these addresses into the bar to get to what you need:
Main dashboard: http://localhost/dashboard or http://127.0.0.1/dashboard/
phpMyAdmin: http://localhost/phpmyadmin
and Your projects: Place files in C:\xampp\htdocs\your-project-name
The dashboard provides quick access to all XAMPP components and includes useful tools for managing your development environment.
What does XAMPP include?
Apache: An open-source HTTP web server that runs on multiple platforms and accelerates the worldwide distribution of website content.
Tomcat: It is a Java server that allows you to run Java code.
PHP: PHP stands for Hypertext Prepossessor. It is a back-end programming language for creating dynamic web pages and server-side software.
Perl: The dynamic and interpretable programming language Perl is sometimes referred to as a general computer language.
phpMyAdmin: a program to manage MariaDB databases.
OpenSSL: It is a free and open-source implementation of SSL and TLP.
MariaDB: MySQL database management system has been replaced by MariaDB in Xampp. However, MariaDB has since taken over. Data storage, manipulation, retrieval, maintenance, and deletion services are available with this relational database management system on the internet.
Webalizer: A web analytics tool that tracks and collects user reports.
Filezilla: is a file transfer protocol server that simplifies and supports file transfer.
Mercury: An email server that makes email management more efficient and easier.
Cross Platform: Cross-platform is used to improve performance due to the wide variety of operating systems and software configurations.
Xampp Control Panel: Manage the software and all Xampp components as a central console.
Most important findings
always run XAMPP as administrator, configure the Windows firewall correctly and test your installation with the dashboard. When XAMPP runs successfully, you will have a complete Apache MySQL PHP development environment ready to test your applications.
Conclusion
Installing XAMPP on Windows Server 2019 is easy if you follow the right steps. This guide has covered everything from basic installation to configuration and security setup that developers often encounter.
For developers working with different operating systems, you might also find our XAMPP installation guide for Linux helpful, which covers Ubuntu and CentOS configurations with similar approaches to troubleshooting.
FAQ
1. What is the difference between XAMPP and WAMP?
XAMPP is cross-platform (works on Windows, Linux, macOS), while WAMP only works on Windows.
2. How do I change the PHP versions in XAMPP?
Download the required PHP version package, replace the existing PHP folder in C:\xampp and update the configuration files.
3. What is the difference between the XAMPP installation on Windows Server 2019 and normal Windows?
The installation process is identical, but Windows Server requires additional firewall configuration and security settings. Server environments usually require more network access configuration for multi-user scenarios.
4. Can I run XAMPP alongside IIS on Windows Server?
Yes, but you need to configure different ports. By default both use port 80, so change the XAMPP apache to port 8080 or stop IIS if you are using XAMPP.
5. Can I install multiple versions of PHP with XAMPP?
XAMPP comes with one version of PHP, but you can manually install additional versions of PHP and configure virtual hosts to use different versions for different projects.
6. How can I access XAMPP from other computers on the network?
Configure the Windows firewall to allow Apache and then access via the server’s IP address (e.g. http://192.168.1.100). Make sure that your network security policies allow this access.
The Author Robert Smite
Hello! I'm Robert, specializing in virtual servers and cloud technology. With expertise in managing and optimizing virtual servers, my focus is on delivering understandable and practical content in this field. My goal is to enhance knowledge and assist individuals in selecting the best virtual services for their needs.
More from Robert Smite