How to install LAMP stack on ubuntu 16?
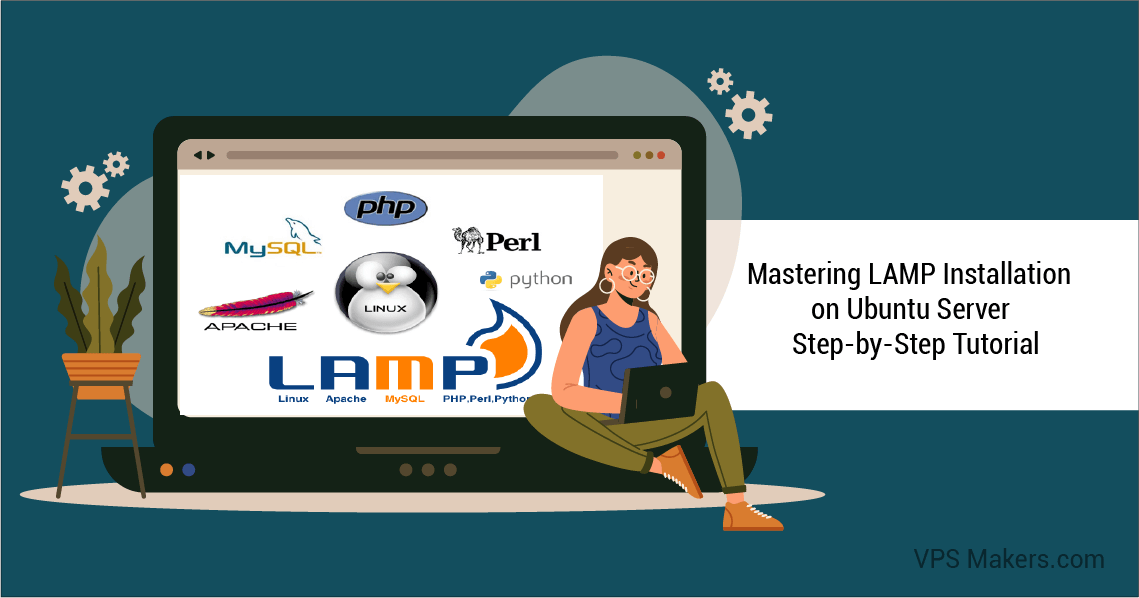
Mastering LAMP Installation on Ubuntu Server, LAMP is a software stack that is commonly used for web development. It stands for Linux, Apache, MySQL, and PHP.
- Linux is the operating system on which the other components of the stack run.
- Apache is the web server software that serves web pages to clients’ browsers.
- MySQL is a database management system that stores the data for web applications.
- PHP is a server-side scripting language used to create dynamic web pages.
Mastering LAMP Installation on Ubuntu Server: Step-by-Step Tutorial
Before we begin, make sure you have the following:
Prerequisites
- An Ubuntu server
- A user account with sudo privileges
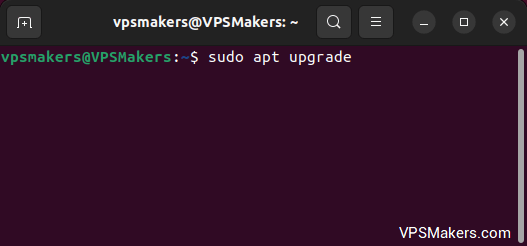
Step 1 – Update the System
The first step is to update your Ubuntu server’s package repository and upgrade the system. Open up a terminal and enter the following commands:
sudo apt update

sudo apt upgrade

This will update your system’s package repository and install any available updates.
Step 2 – Install Apache
The next step is to install the Apache web server. Apache is one of the most popular web servers in the world and is used by millions of websites. To install Apache, enter the following command:
sudo apt install apache2
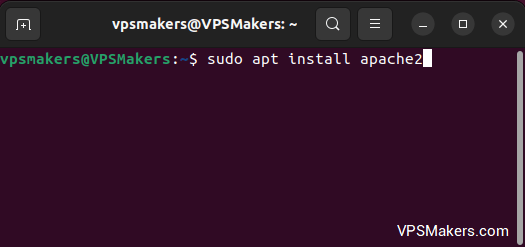
This command will download and install Apache on your Ubuntu server.
Step 3 – Start Apache
After Apache is installed, you need to start the Apache service. To do this, enter the following command:
sudo systemctl start apache2

This command will start the Apache service on your Ubuntu server. You can verify that Apache is running by opening up your web browser and navigating to your server’s IP address or domain name.
Step 4 – Install MySQL
The next component of the LAMP stack is MySQL. MySQL is a powerful relational database management system used by many web applications. To install MySQL, enter the following command:
sudo apt install mysql-server

During the installation process, you will be prompted to set a root password for MySQL. Make sure to choose a strong and secure password.
Step 5 – Secure MySQL
After MySQL is installed, it is recommended that you run the MySQL secure installation script to secure your MySQL installation. To run the script, enter the following command:
sudo mysql_secure_installation

The script will guide you through several steps to secure your MySQL installation. You will be prompted to set the root password, remove anonymous users, disable remote root login, and remove the test database.
Step 6 – Install PHP
The final component of the LAMP stack is PHP. PHP is a server-side scripting language used to create dynamic web pages. To install PHP and its dependencies, enter the following command:
sudo apt install php libapache2-mod-php php-mysql
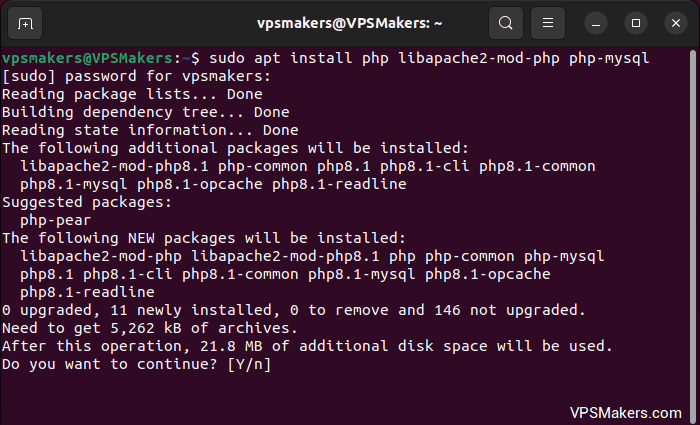
This command will install PHP and the necessary modules to run PHP applications on your Ubuntu server.
Step 7 – Test PHP
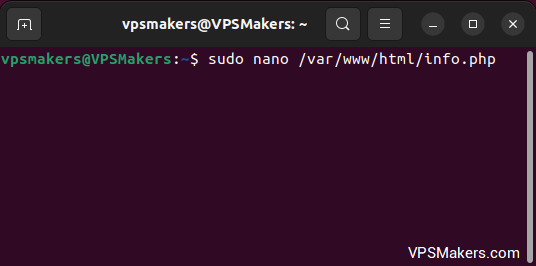
After PHP is installed, you can test it by creating a PHP info file. To do this, create a new file called info.php in the Apache web root directory by entering the following command:
sudo nano /var/www/html/info.php
Add the following PHP code to the file:
?php</phpinfo();?
Save and close the file. You can now test PHP by navigating to http://your_server_ip/info.php in your web browser. If everything is working correctly, you should see a page with information about your PHP installation.
Conclusion
In this tutorial, we have shown you how to install LAMP on a Linux VPS. The LAMP stack is a powerful web development platform that consists of Linux, Apache, MySQL, and PHP. By following the steps outlined in this tutorial, you can easily set up a LAMP stack on your Ubuntu server and start developing web applications. also, you can Read How to Install XAMPP on a Linux VPS in 5 Minutes?
The Author Emily.J
Emily started working as a member of the sales team, and because of his strong passion for providing solutions to the problems of users, he has become a successful person in the field of content creation, and so far he has been able to solve many problems. Also, Emily is trying to increase his expertise and experience with serious challenges.
More from Emily.J